Thank you for purchasing CDS Tactical Products new Gen 2 Ruger LCP Grip Wrap. Please read the instructions below prior to application.
Prior to installation make sure the firearm is unloaded, and that you follow all standard firearms safe handling procedures.
Prior to installation make sure the firearm is unloaded, and that you follow all standard firearms safe handling procedures.
 | 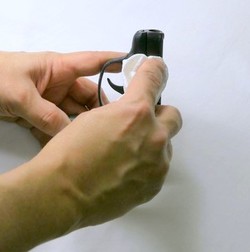 | 1) Clean wrap installation areas with a lint free cloth and a cleaner that will not leave a residue behind. An alcohol wipe works great for this. 2) It is recommended that you try the fit of the cut out wrap to the area it will be applied with the backer still affixed. |
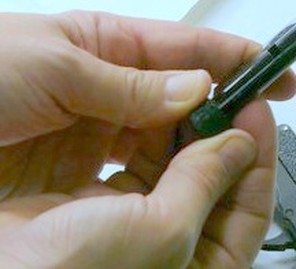
 |  | 3) Gently warm the area of the firearm where you will be applying the wrap to. This will allow the wrap to conform to irregular surfaces on the firearm. Surfaces only need to be warmed. |
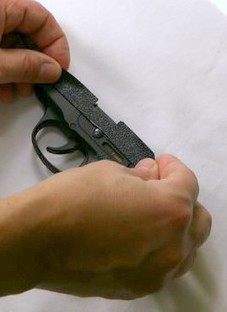
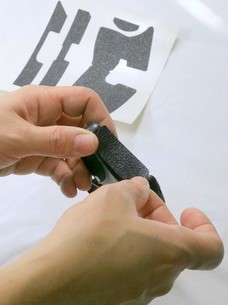 | 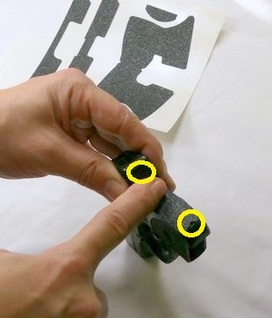 | 4) Back-Strap: Starting at the base of the grip, use the alignment notch on the wrap to center it up along the split line on the grip. Lightly work towards the magazine selector being careful to align notch in wrap with stock parting line and smooth out using first light and then firm pressure. Re-position if needed. Note: Notches are shown highlighted in picture above with yellow circles. |
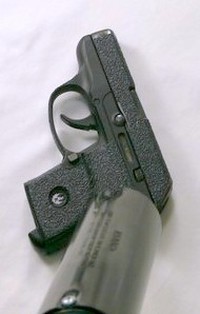
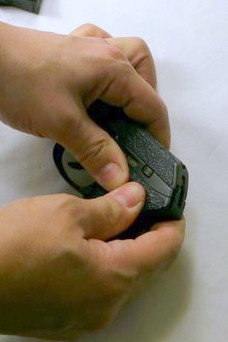
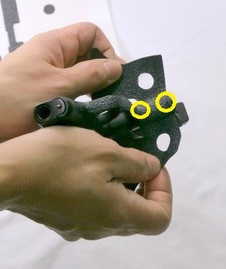 |  | 5) Main wrap panel: Starting at the base of the grip, use the alignment notch on the wrap to center it up along the split line on the grip. Lightly work towards the trigger guard being careful to align notch in wrap with stock parting line and smooth out using first light and then firm pressure. Wrap one side over the grip first keeping an eye on the cutout for the Ruger Logo then wrap opposite side again being careful to align Ruger logo. Re-position if needed. Note: Notches are shown highlighted in picture above with yellow circles. |
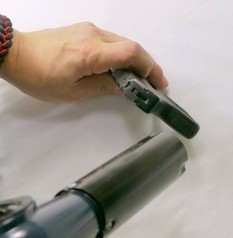
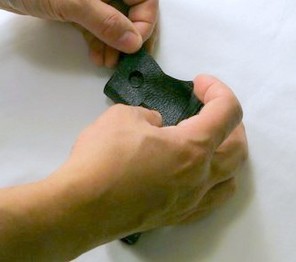
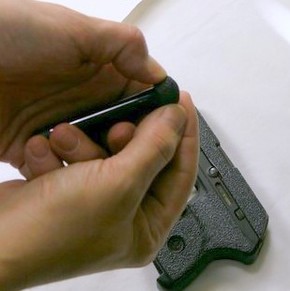
 |  | 6) Left side slide: Start by using the ejection port and bottom of the slide as a guide and lightly press under ejection port. Lightly work towards the muzzle and rear of the slide smooth out using first light and then firm pressure. Wrap the panel over the the top and smooth in place. Re-position if needed. |
 |  | 7) Right side slide: Start by using the ejection port and bottom of the slide as a guide and lightly press under ejection port. Lightly work towards the muzzle and rear of the slide smooth out using first light and then firm pressure. Wrap the panel over the the top and smooth in place. Re-position if needed. |
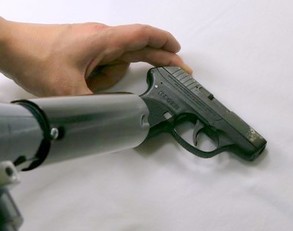
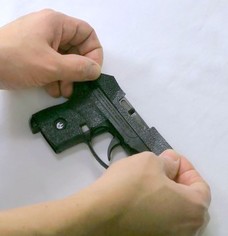
 |  | 8) Magazine and Trigger Guard center and align both the magazine and trigger guard wraps and mooth out using first light and then firm pressure. Re-position if needed. |
 |  | 9) Use hair dryer to gently warm applied wrap and use firm pressure to allow wrap to conform to any irregular surfaces on the firearm. |